Hello!
I hope we're all okay out there, struggling through with months one and two. Can I tell you a secret? I've not even started to applique my first month yet. It's still just ironed on, as it was that first post.
This month is an easy one, at least I reckon it's easy. It's just straight sewing. Easy Peasy.

It's the old favourite, the Log Cabin. There's a thousand tutorials out there, so I hope even the beginners will be able to fly along with this step.

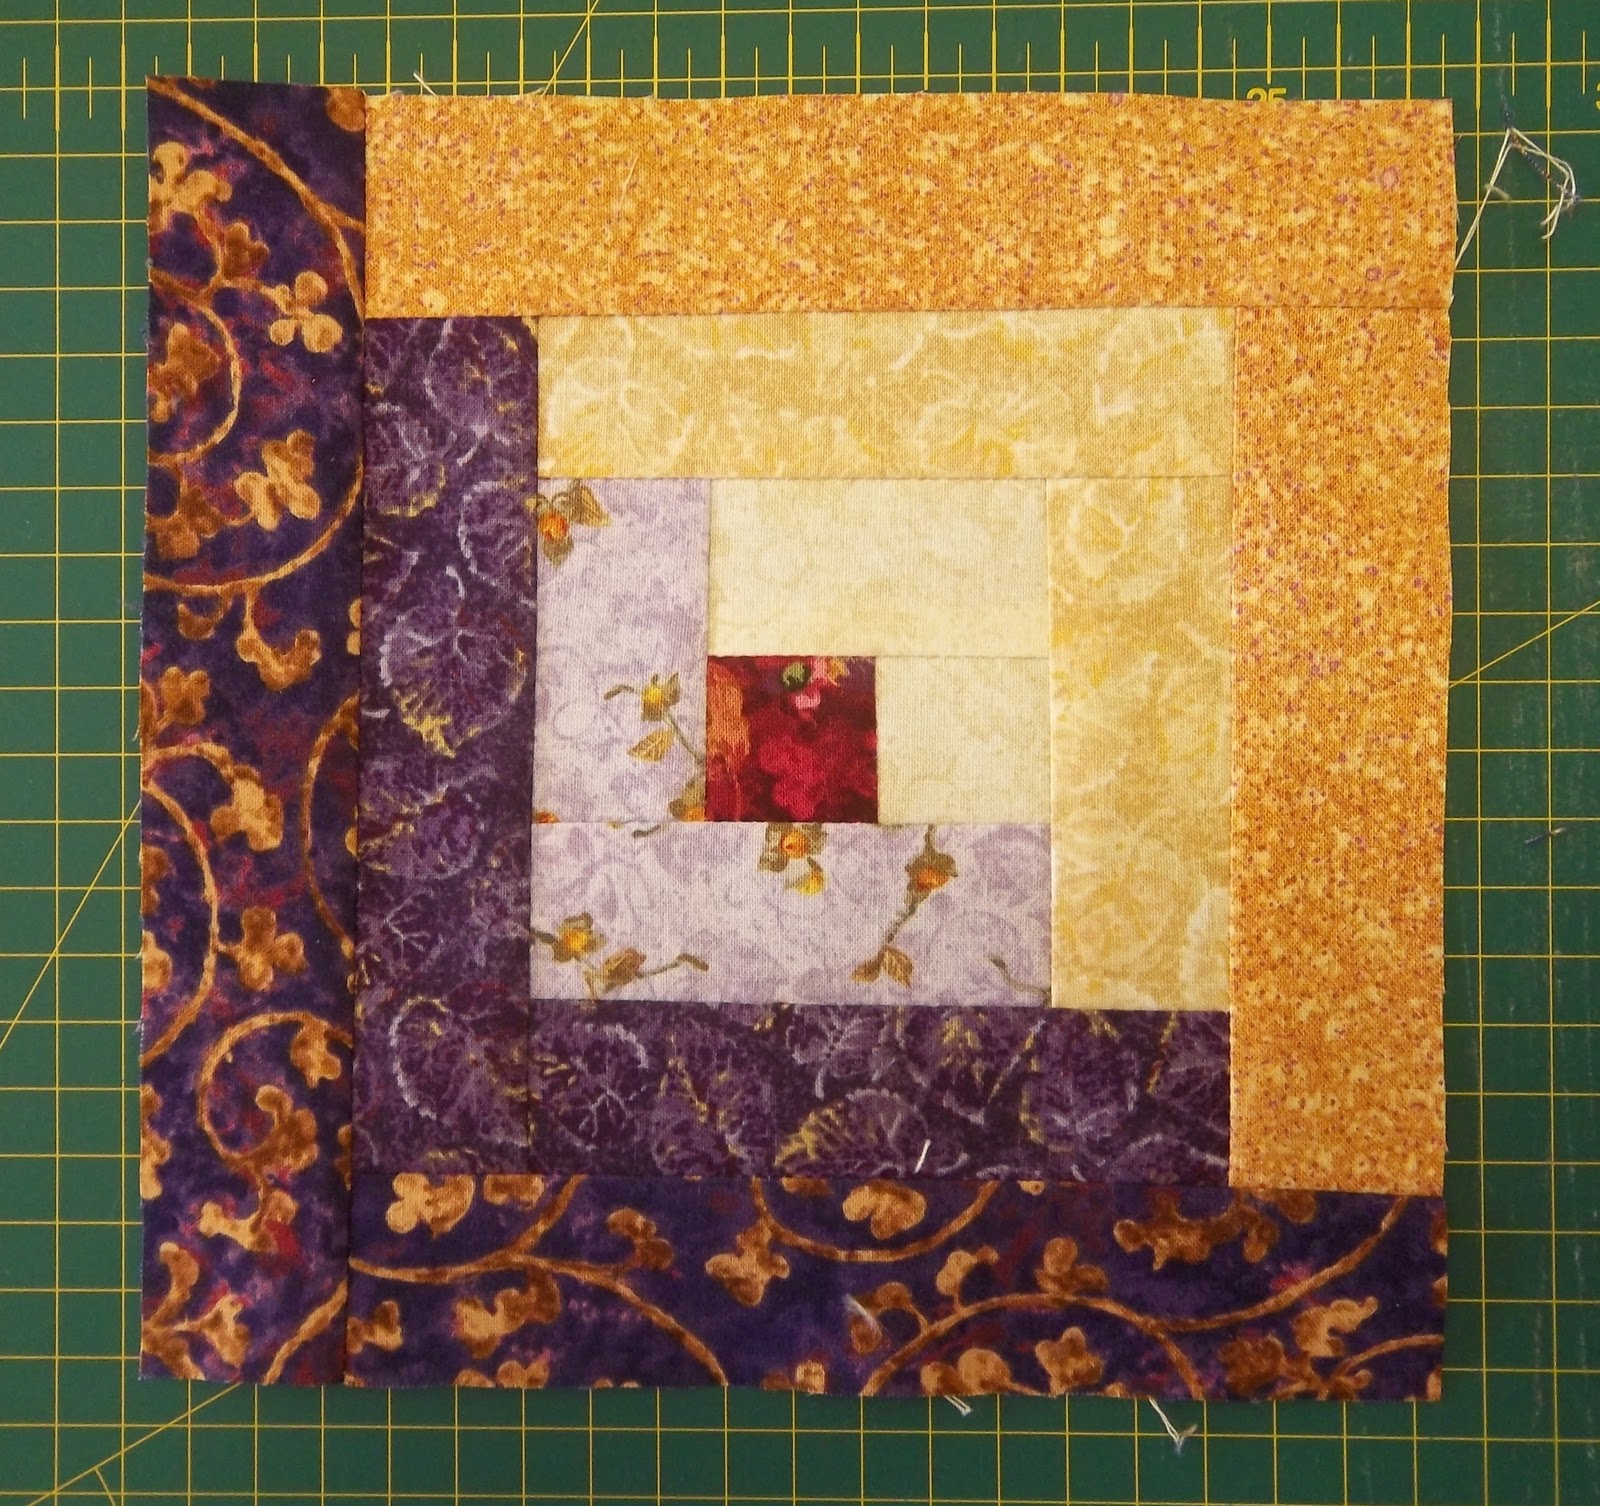
We will need our background fabrics and coloured fabrics (scraps will do). Now my Electric Quilt picture shows that all my blocks are the same, just rotated. It's totally up to you if you want to do the same fabrics for each block or make each one different. There are no rules, it's your quilt! Just follow the rule of cream on one side/coloured on the other and bob's your uncle.
Now, I'm not the best piecer on the planet so I have always cut a little larger and trimmed back after sewing, which is what I will do on this block too. I find it makes a much better block if you do it that way.
Cut your strips (just do a few at a time so you won't have wasteage) into 1.75" strips. For each block you will need four coloured fabrics (I used the same red centre on all my log cabin blocks) and three creams.

**note - if you're into cutting exact measurements, rather than trim back like I do, you will need to cut 1.5" strips.**
Traditionally the centre of a log cabin is red, to symbolise the fireplace at the heart of the house.
Log cabin blocks are quickly made by chain piecing, however for the purposes of today's post I will just show you one. Feel free to make all six blocks at the same time if you wish.
From a coloured fabric and a cream fabric, cut two 1.75" squares and stitch together (logs one and two).

Iron away from the background fabric

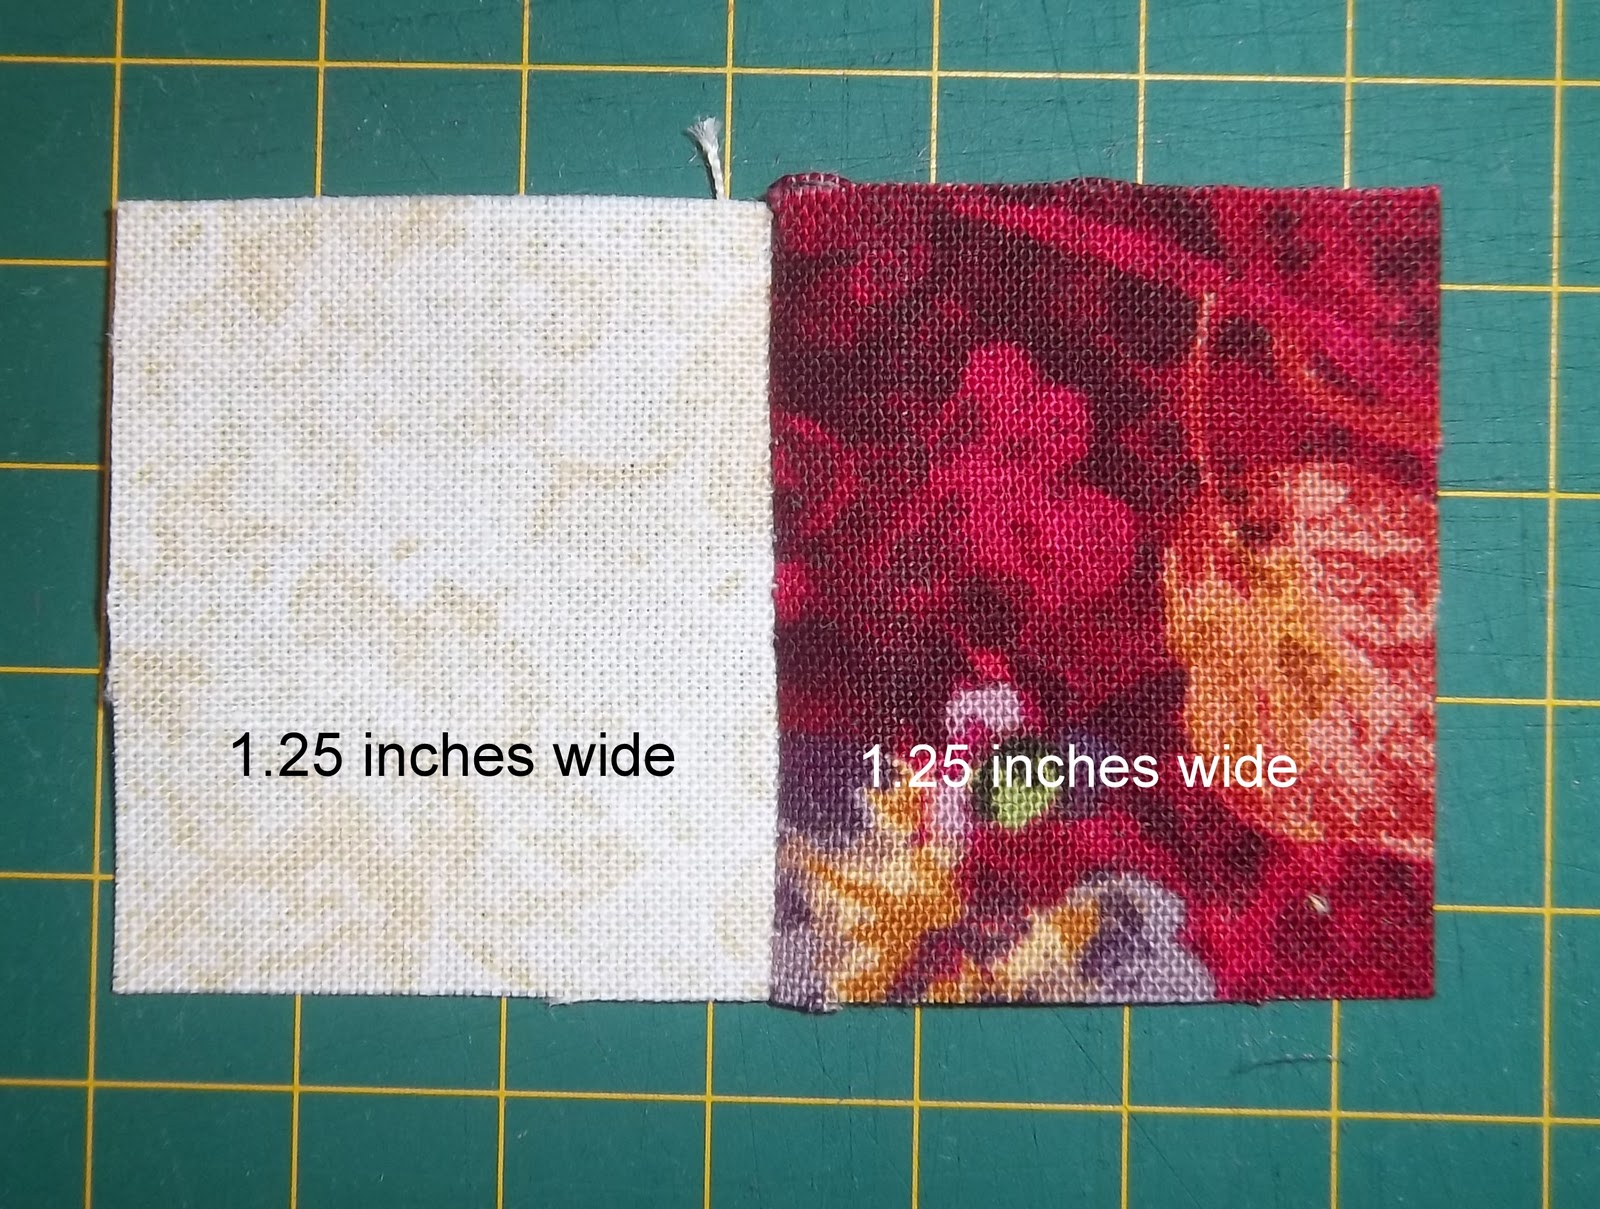
Trim this unit to measure 1.5" x 2.5" being sure that stitched line is in the centre (i.e. 1.25" in width on either side).
Cut a matching background strip approximately 3" long. Lay this strip underneath the pieced unit and stitch down as shown, making sure that a little extends from either side (log three)

Press away from the background fabric again and trim unit back to 2.5" square.

(obviously that's not a trimmed back one. I forgot to take a photo)
Turn block counter clockwise. Cut a coloured strip approximately 3" long and lay under as shown before (log four)

Stitch down, press block open and trim square to 2.5" x 3.5".

Turn block counter clockwise. Cut a strip from the same fabric approximately 4" and lay under as shown before (log five)

Stitch down, press block open and trim square to 3.5" square

(see? It's easy!)
Turn block counter clockwise, cut a strip from background fabric of approximately 4" and lay under as shown before (log six)

Stitch down, press open and trim block to 3.5" x 4.5".

Turn block counter clockwise, cut a strip from the same background fabric of approximately 5" and lay under as shown before (log seven)

Stitch down, press open and trim block to 4.5" x 4.5"

Turn block counter clockwise, cut a strip from a different coloured fabric of approximately 5" and lay under as shown before (log eight)

Stitch down, press open and trim block to 4.5" x 5.5"

Turn block counter clockwise, cut a strip from the same fabric of approximately 6" and lay under as shown before (log nine)

Stitch down, press open and trim block to 5.5" x 5.5"

Turn block counter clockwise, cut a strip of another background fabric of approximately 7" and lay under as shown (log ten)

Stitch down, press open and trim block to 5.5" x 6.5"

Turn block counter clockwise, cut a strip of the same background fabric of approximately 7" and lay under as shown (log eleven)

Stitch down, press open and trim block to 6.5" x 6.5".

Turn block counter clockwise, cut a strip of a different coloured fabric of approximately 8" and lay under as shown (log twelve)

Stitch down, press open and trim block to 6.5" x 7.5"

Turn block counter clockwise, cut a strip of the same fabric of approximately 8" and lay under as shown (log thirteen).

Stitch down, press open and trim block to 7.5" x 7.5"

And you're done!
Lather, rinse and repeat with the remaining five blocks to make a total of six 7.5" blocks altogether.

Stitch them together into one long row measuring 7.5" x 42.5". Feel free to stitch them in any way, as long as you are happy with the placement, that's all that matters!

So as usual, please email me or send me a note with any queries and I'll be happy to help you if I can.
We'll see you next month!
Love the colors you picked!
ReplyDeleteOh my gosh!!! This is beautiful! I love the design, and this fabric has always enchanted me. It would be awesome if you feel like sharing this post at BOMs Away (a weekly linky "party"). here's the URL that goes to the latest post for that: http://whatahootquilts.blogspot.com/2011/11/welcome-to-my-link-up-for-boms-away.html
ReplyDeleteJust want to say thanks for the BoM. I'm loving it so far, and can't wait to finish it :-)
ReplyDeleteI like the fact that the last picture shows that you used different colors than I expected. I like this so far!
ReplyDeleteIt is beautiful.
ReplyDelete